
10 Must-Have Canning Tools for Beginners
I still remember my very first attempt at canning. I stood in my tiny kitchen, surrounded by jars, lids, and a bubbling pot of tomato sauce, feeling both excited and completely overwhelmed. I had watched my grandmother preserve food every summer, but when I tried it myself, I quickly realized I was missing some key tools. The sauce splattered everywhere, my jars didn’t seal properly, and I spent way too much time fishing lids out of boiling water with a fork.
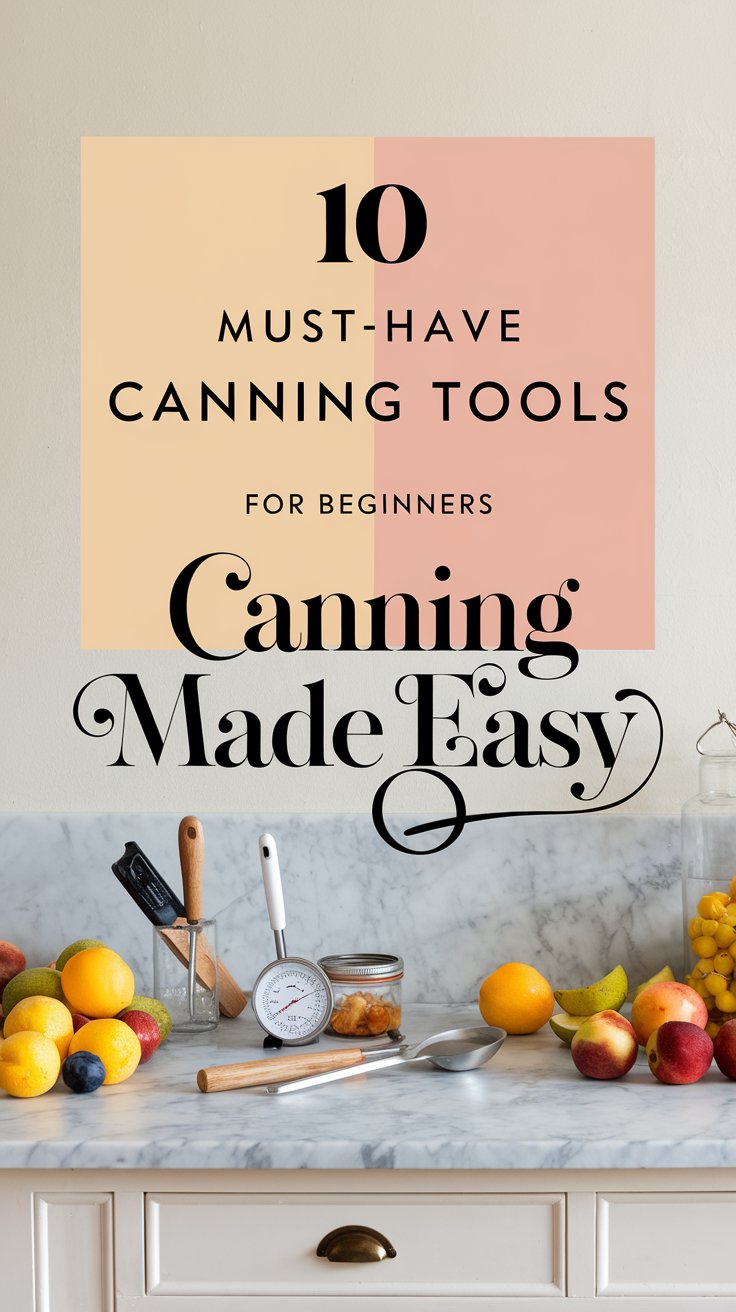
That’s when I learned the importance of having the right canning essentials. If you’re just starting out with home canning, having the proper beginner canning supplies makes the process smoother, safer, and a lot more enjoyable. In this guide, I’ll walk you through 10 must-have tools for canning so you can confidently preserve your own food without the stress I went through.
1. Canning Jars
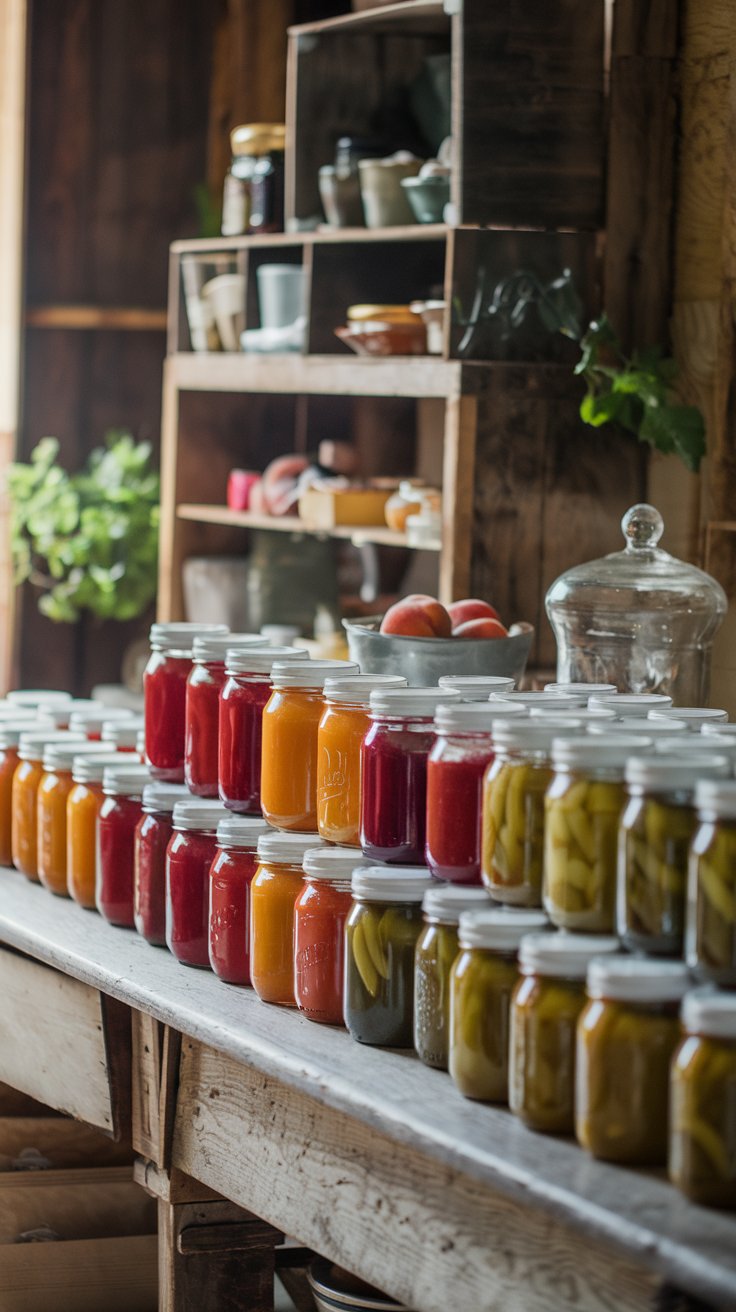
Canning starts with the right glass jars, designed specifically for food preservation. These jars come in different sizes, from half-pints to quarts, depending on what you plan to can.
Mason jars are the most popular and come with two-piece lids for airtight sealing.
Wide-mouth jars make it easier to fill and remove food, especially for chunky fruits and vegetables.
Smaller jars are great for jams, jellies, and sauces, while larger jars are perfect for whole tomatoes or pickles.
2. Canning Lids and Bands
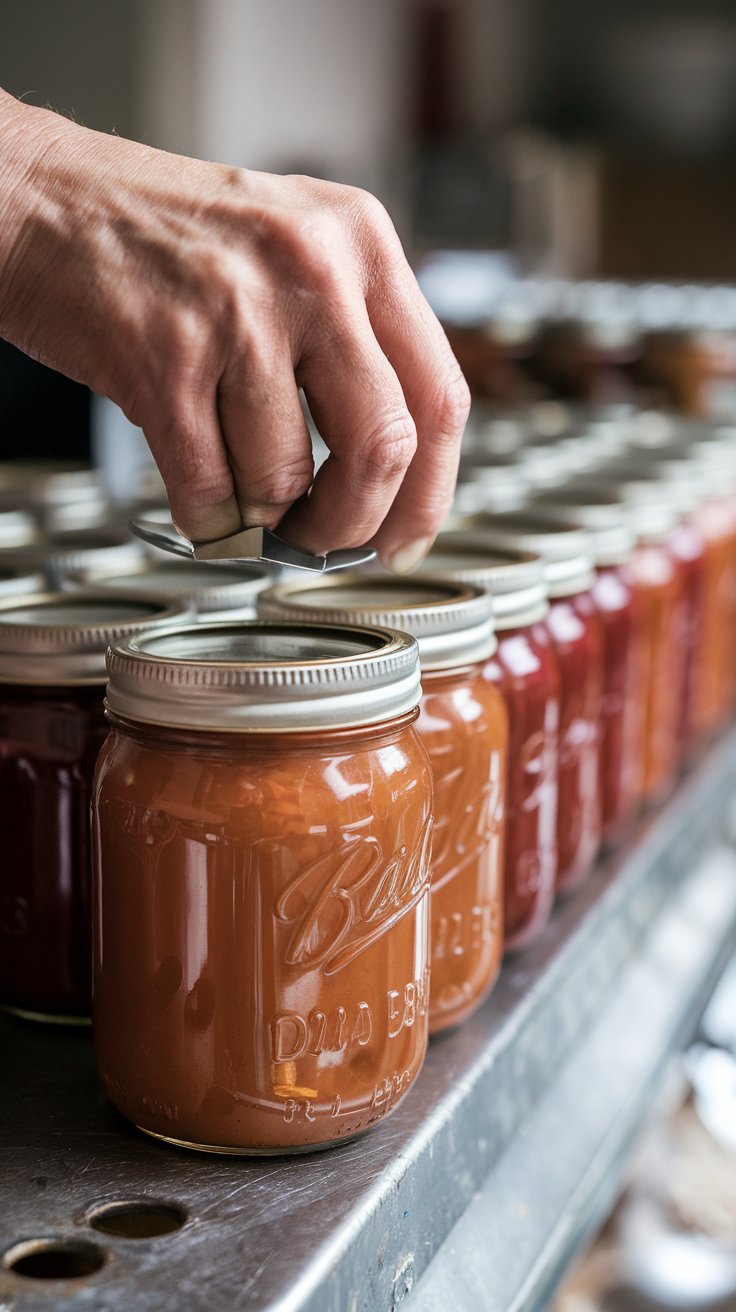
A good seal is the key to safe canning, and that’s where lids and bands come in.
Two-piece lids include a flat metal lid with a sealing compound and a screw-on band to hold it in place during processing.
Single-use lids need to be replaced after each use, while bands can be reused multiple times.
Tattler reusable lids are an eco-friendly alternative made of BPA-free plastic with rubber gaskets.
3. Water Bath Canner
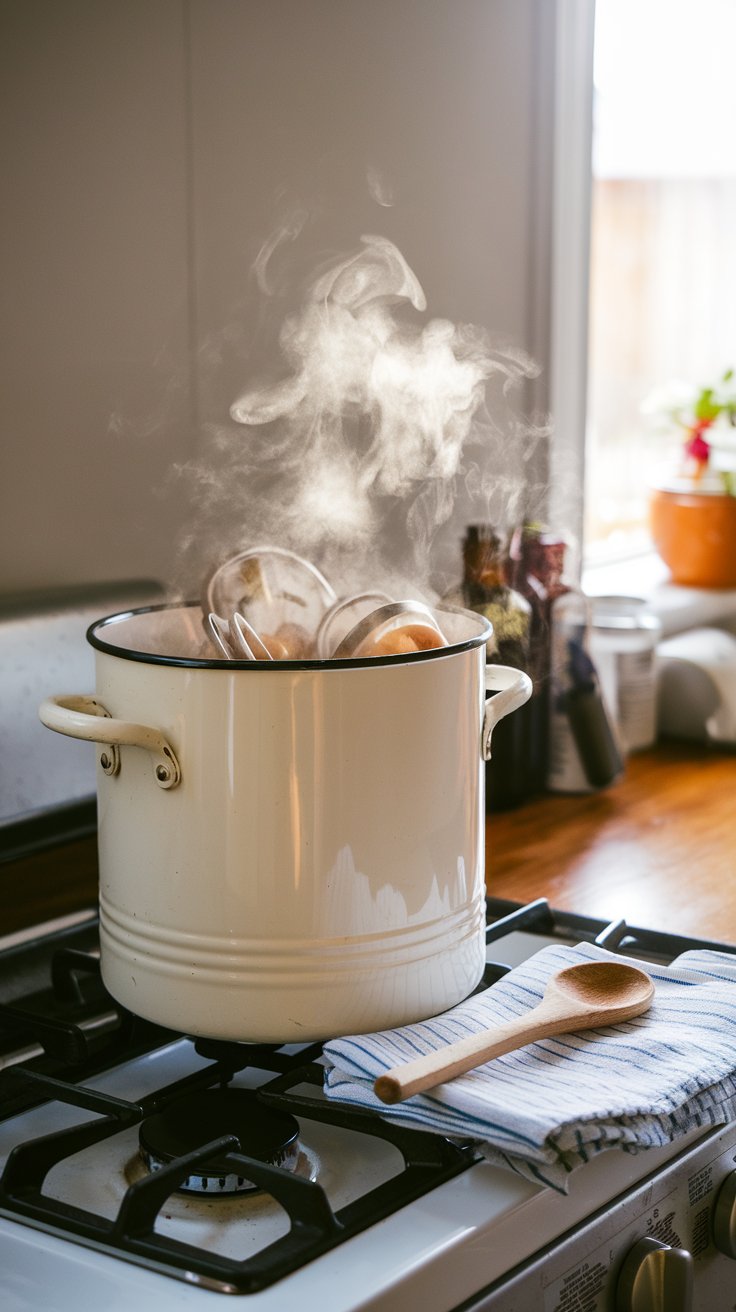
A water bath canner is essential for preserving high-acid foods like fruits, jams, pickles, and tomato-based sauces.
It’s simply a large pot with a lid and a rack to hold jars during boiling.
Any deep stockpot can work, as long as it’s tall enough to cover the jars with at least an inch of water.
Enamel-coated water bath canners are a traditional favorite and are widely available.
4. Pressure Canner
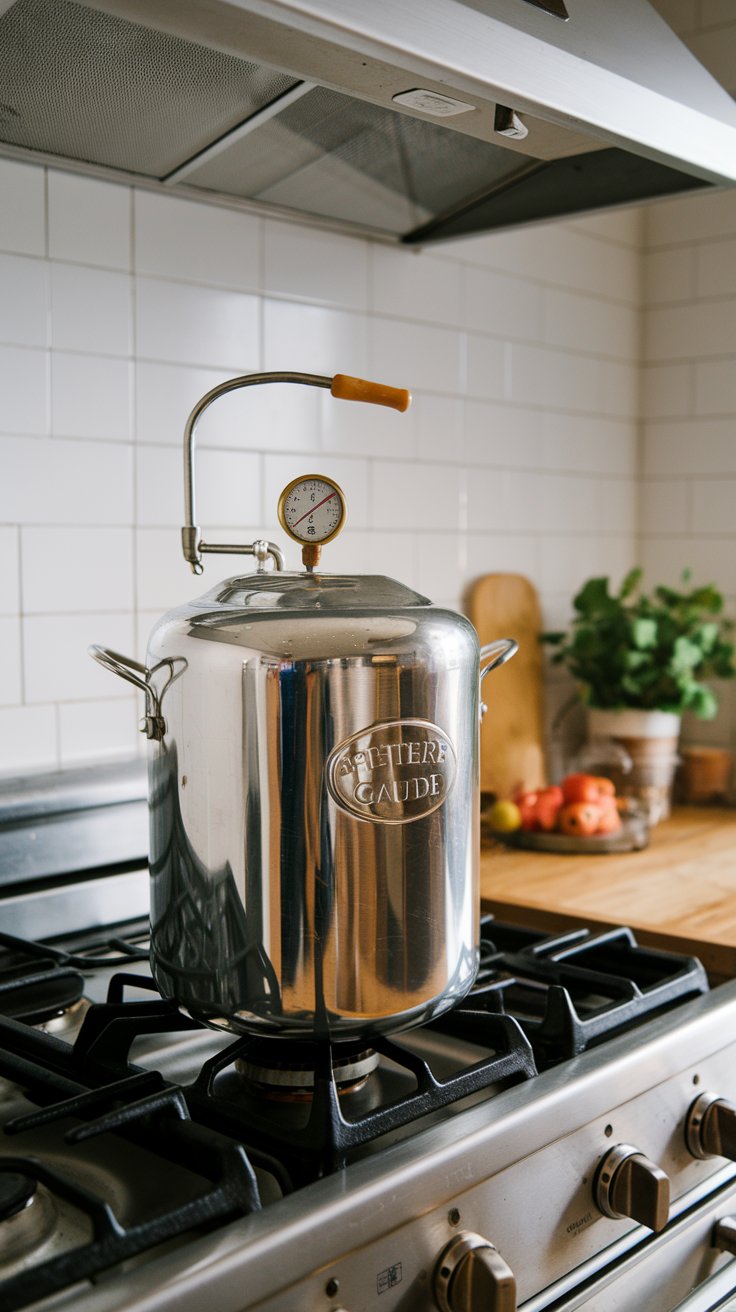
If you want to can low-acid foods like meats, beans, and vegetables, a pressure canner is a must.
Unlike a water bath canner, this tool reaches higher temperatures to kill bacteria in low-acid foods.
Choose between weighted-gauge and dial-gauge pressure canners, depending on your preference.
Stainless steel and aluminum options are available, with aluminum being lighter and more affordable.
5. Jar Lifter
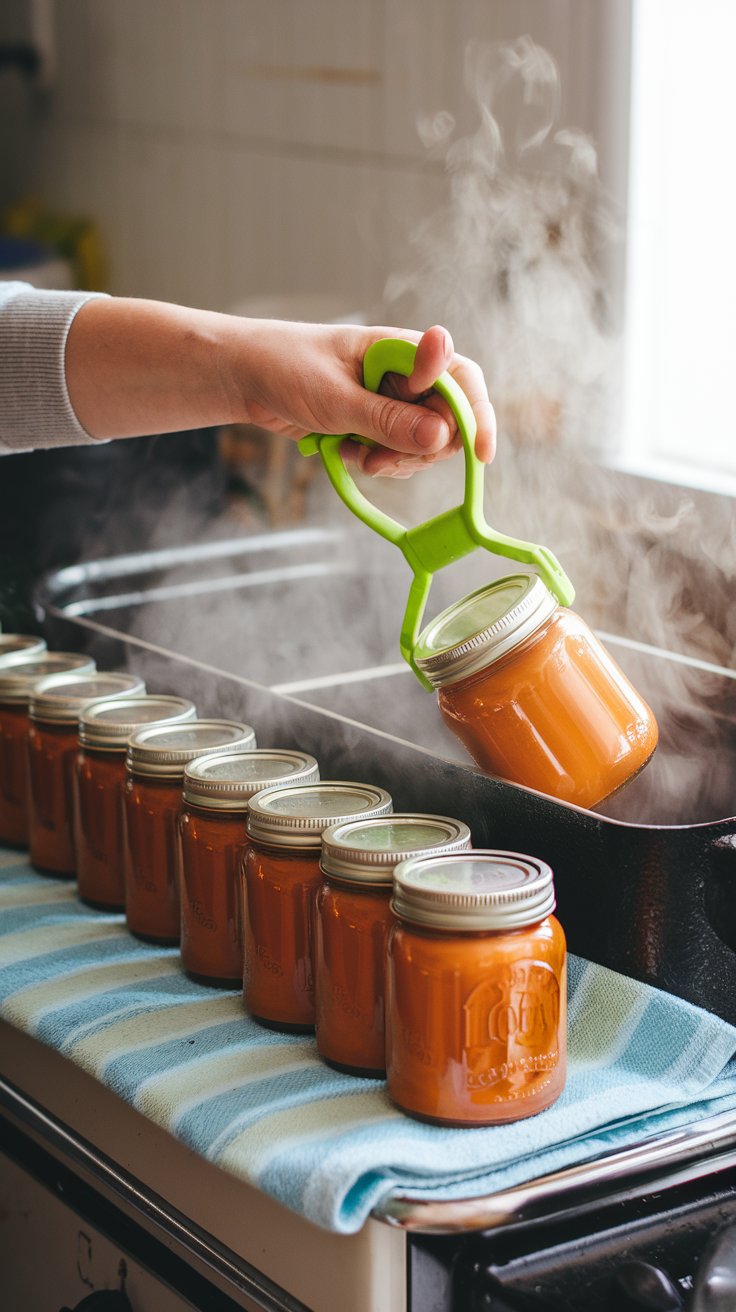
A jar lifter is a simple but essential tool for safely removing hot jars from boiling water without burning yourself.
It has rubber-coated grips to securely hold jars without slipping.
Prevents accidents by allowing you to lift jars out smoothly.
A must-have for every beginner—trying to remove jars with tongs or a towel is a recipe for disaster!
6. Canning Funnel
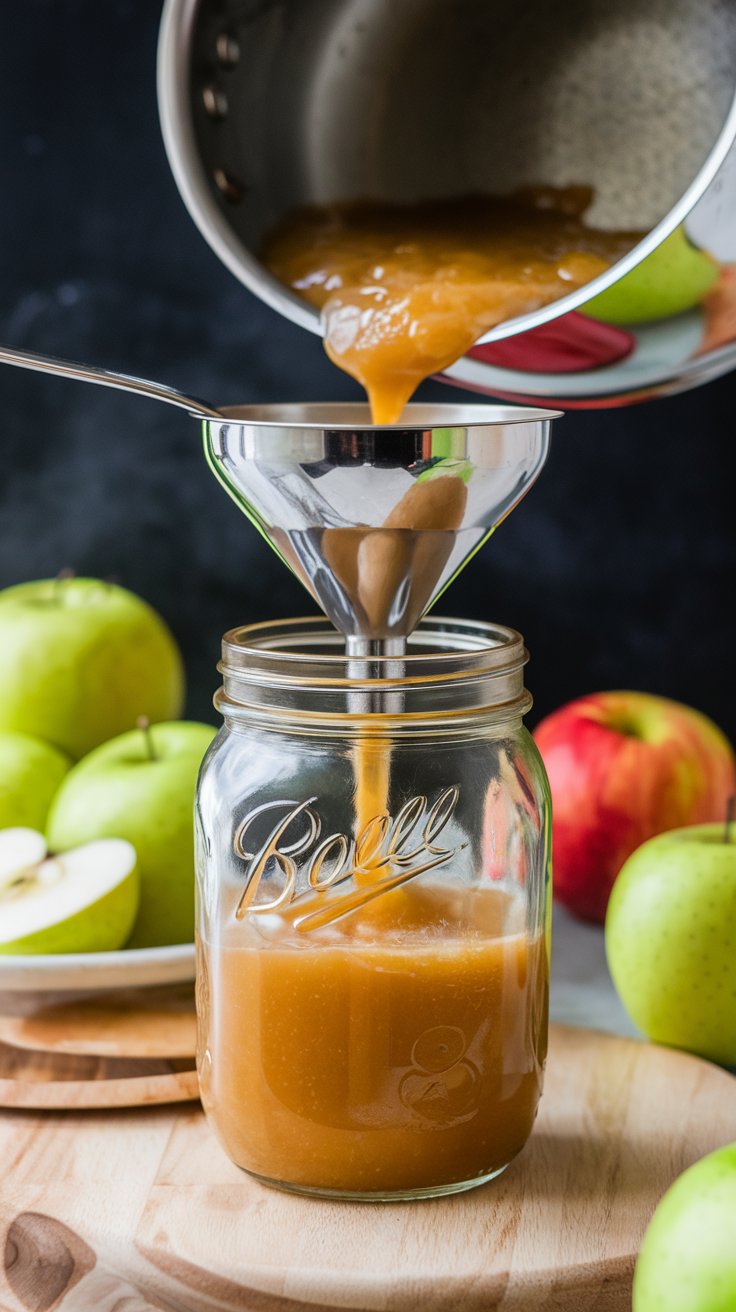
A wide-mouth canning funnel helps you fill jars neatly and efficiently without making a mess.
Prevents spills when transferring liquids or chopped produce into jars.
Comes in stainless steel or BPA-free plastic for durability.
Perfect for jams, sauces, soups, and pickles.
7. Bubble Remover and Headspace Tool
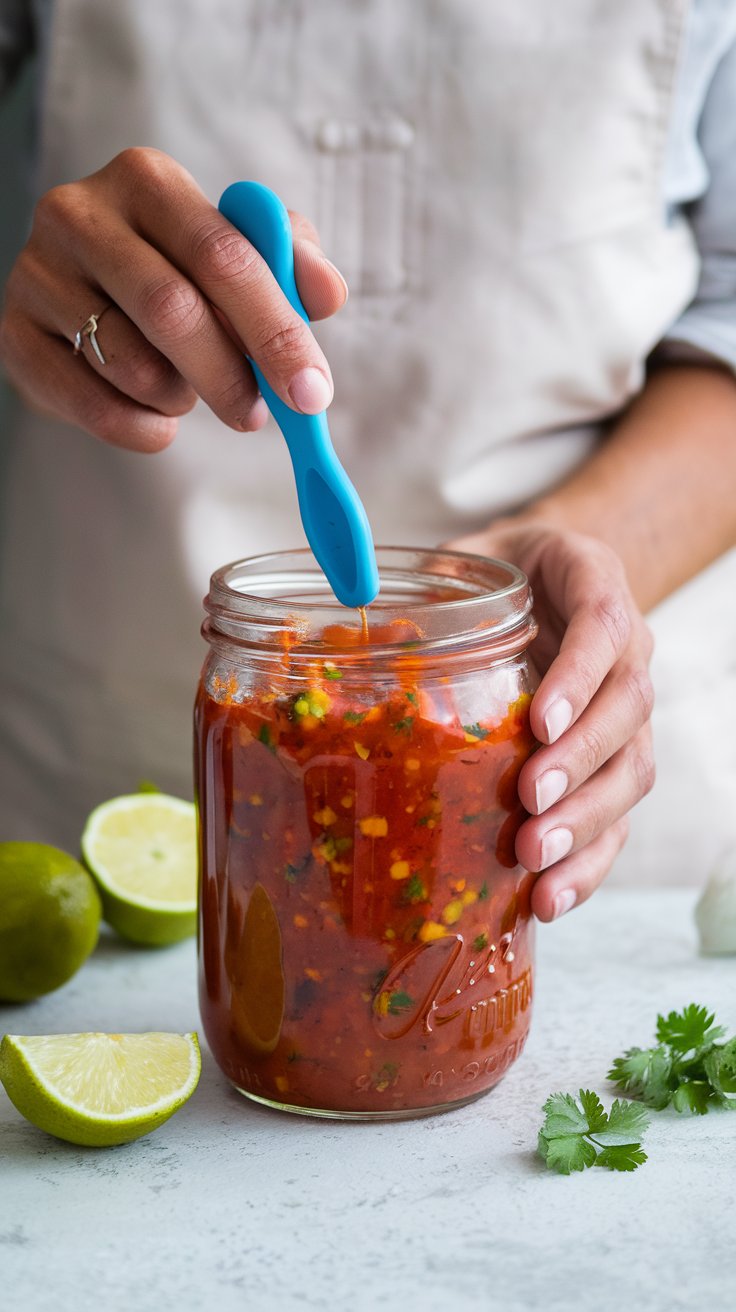
Proper headspace (the space between the food and the lid) ensures a good vacuum seal. A bubble remover and headspace tool makes this step easier.
Removes trapped air bubbles from inside the jars.
Has a measuring guide to ensure correct headspace for different types of food.
Can be replaced with a plastic knife or chopstick in a pinch.
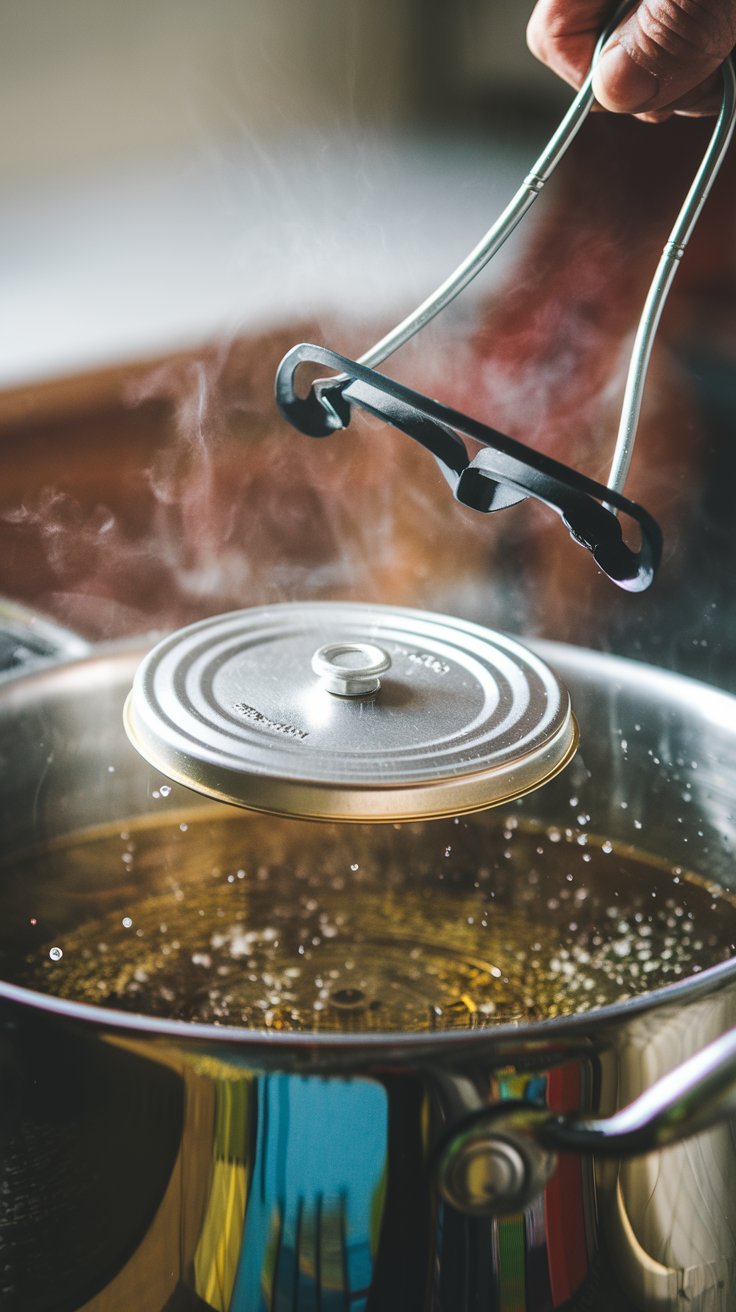
8. Magnetic Lid Lifter
This small tool saves time and frustration by helping you lift canning lids out of hot water without touching them.
Keeps lids sterile until you’re ready to place them on jars.
Prevents burning your fingers when handling hot lids.
A simple but highly useful tool for beginners!
9. Labels and a Permanent Marker
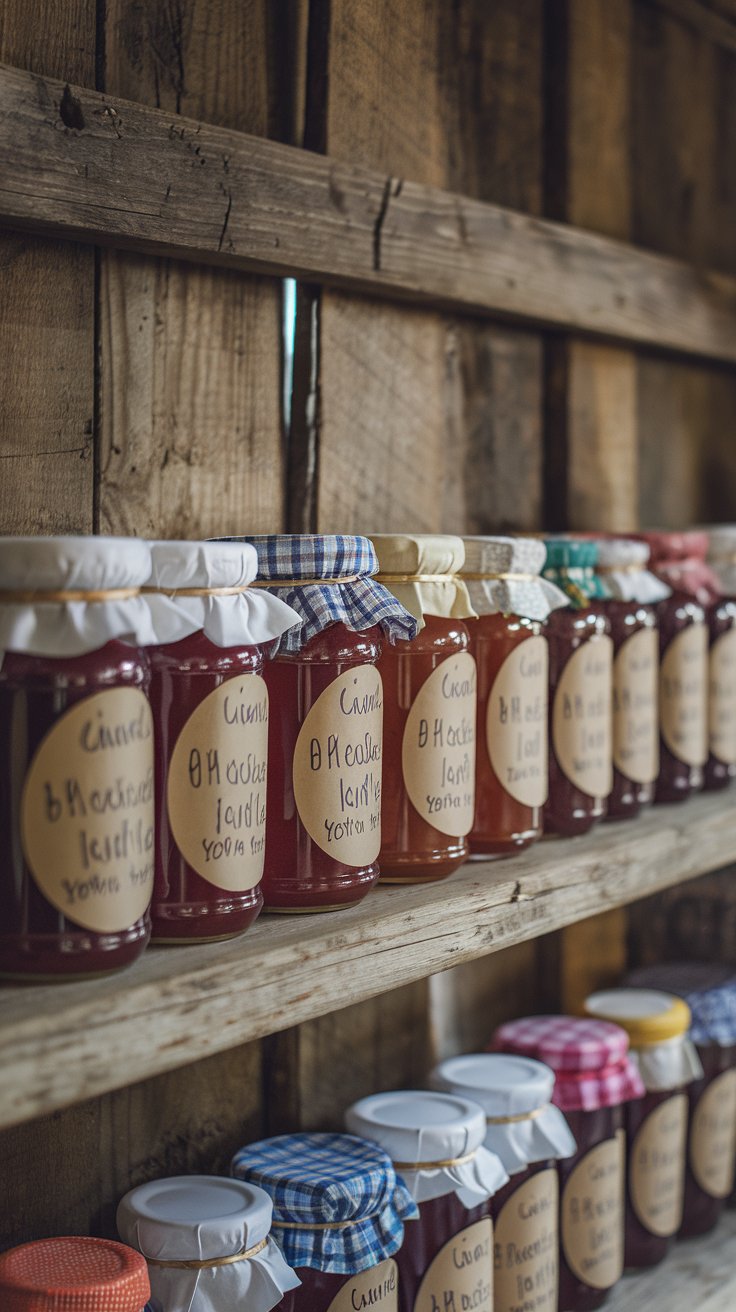
Keeping your canned goods organized is important, and labels help you remember what’s inside each jar and when you made it.
Use waterproof labels to avoid smudging.
Write the contents and date for easy tracking.
Chalkboard labels are reusable and add a farmhouse touch.
10. Cooling Rack or Towel
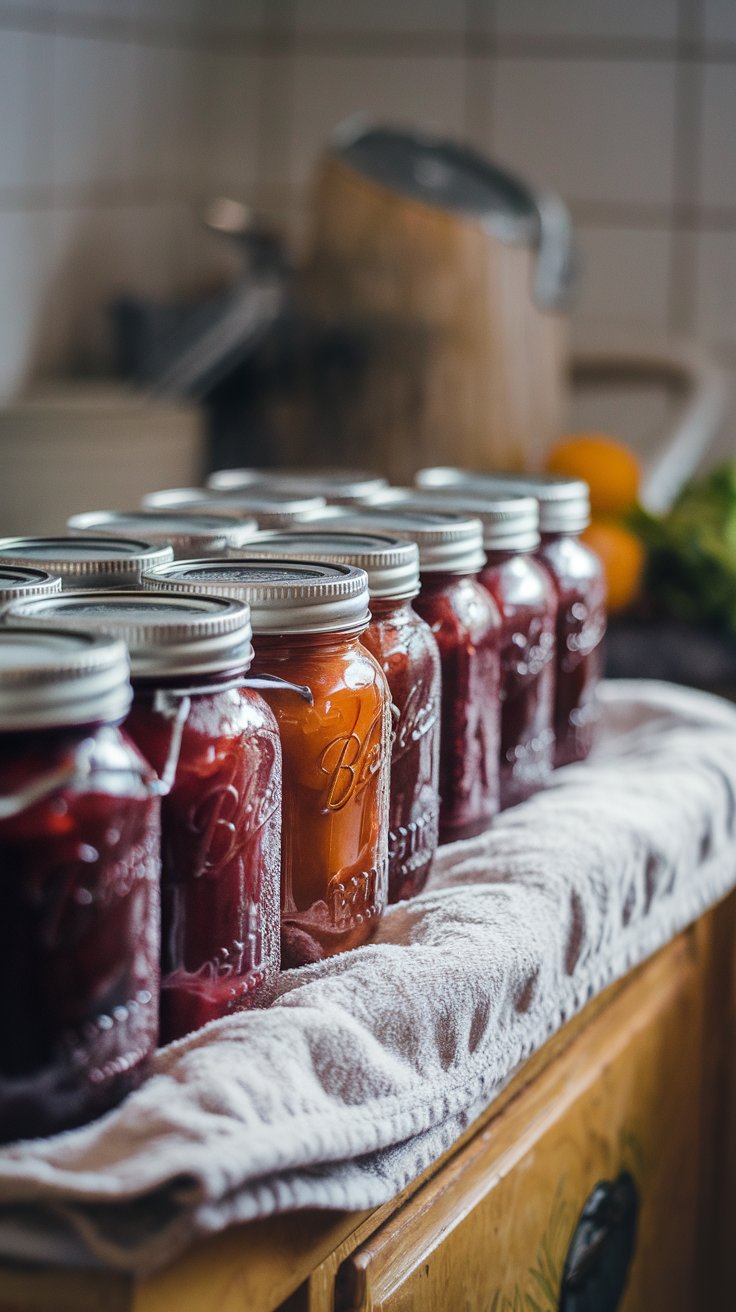
After removing your jars from the canner, they need to cool undisturbed for 12-24 hours.
A cooling rack allows air circulation around the jars.
A thick towel provides a cushioned spot for jars to rest.
Never place hot jars directly on a cold surface to prevent cracking.
Conclusion
Having the right canning essentials makes all the difference when starting out. With these beginner canning supplies, you’ll be able to preserve fruits, vegetables, and homemade goods with confidence. Whether you're making jams, pickles, or home-cooked sauces, these must-have tools for canning will set you up for success.
Ready to start your first batch? Gather your supplies, roll up your sleeves, and enjoy the art of home canning! 🍓🥒🍅
