
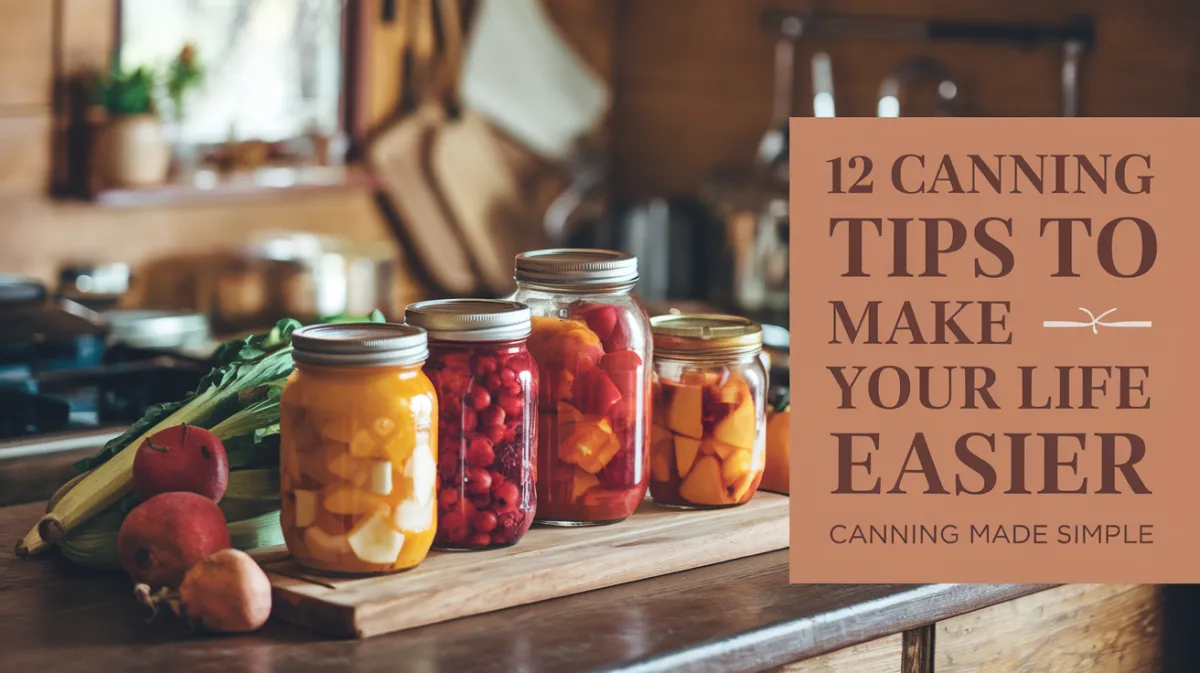
12 Canning Tips to Make Your Life Easier
Canning has always been a part of my life, ever since I could remember. I used to watch my grandmother carefully fill jar after jar with fruits and vegetables from the garden, preserving their goodness for the winter months. Over the years, I’ve learned a lot about canning – some things the hard way, others through trial and error. And today, I want to share with you 12 of my favorite canning tips that have made my life a whole lot easier. These easy canning tips will help you save time, avoid common mistakes, and get the most out of your canning efforts.

Whether you're new to home canning or a seasoned pro, these canning tips and tricks are designed to make food preservation a breeze. From beginner canning tips to clever shortcuts, you’ll find ideas here that fit your needs and skill level. Let’s dive in and make canning a lot less stressful and a lot more rewarding.
Why Canning is a Game-Changer for Home Preserving
If you’ve ever thought about preserving your own food, you’ve likely considered canning. It’s one of the best ways to keep your harvest fresh and enjoy seasonal flavors all year long. Not only is it a fun and rewarding activity, but it also gives you control over what’s in your food. By following these simple canning tips, you can preserve your fruits and vegetables at home without the hassle and cost of store-bought options.

The Benefits of Home Canning
Home canning allows you to keep your food free from preservatives and additives. Plus, it’s a sustainable way to make the most out of what you grow or purchase, reducing food waste and stretching your grocery budget.
Healthier Meals for Your Family
When you can your own food, you know exactly what’s in it. With fresh, homemade ingredients, you’re providing your family with healthier meals that are both nutritious and flavorful.
How Canning Makes Life Easier and More Efficient
Canning can seem like a big commitment, but once you’ve mastered a few easy canning hacks, you’ll find it’s a simple, time-saving process. The key is understanding the right methods, tools, and tips to streamline your efforts and make the entire process more efficient. These canning shortcuts and food preservation hacks will save you time and energy, leaving you with more jars full of goodness and less stress in the kitchen.

Time-Saving Canning Ideas
With a little planning and a few smart canning strategies, you can preserve more food in less time. From prepping ingredients ahead of time to mastering quick canning methods, these tips will help you get the job done faster.
Simplifying the Process
You don’t have to be an expert to can food successfully. By following these simple canning solutions, you’ll simplify the process and reduce the chances of making mistakes, so you can enjoy the benefits without the overwhelm.
12 Canning Tips to Make Your Life Easier
Now that you know the benefits of canning and how it can make your life easier, it’s time to dive into these 12 canning tips that will help you get started with confidence and efficiency. These simple, actionable tips are designed to save you time, reduce stress, and maximize your results. Let’s jump right in!
1. Choose the Right Canning Method for Your Food
When it comes to canning, there are different methods for different types of food. Selecting the right method makes all the difference in preserving the flavor and texture of your food.
Water Bath Canning
Ideal for high-acid foods like fruits, jams, and pickles.
This method involves submerging jars in hot water to seal them.
Pressure Canning
Best for low-acid foods like meats, vegetables, and poultry.
Requires a pressure canner to reach the necessary temperatures to safely preserve these foods.

2. Prep Ingredients Ahead of Time
By preparing all your ingredients before you start the canning process, you can save time and make the whole experience less chaotic.
Wash and Chop Produce
Wash fruits and vegetables thoroughly to remove dirt and pesticides.
Chop them into the size you’ll need for the jars, making sure everything is uniform for even cooking.
Have Your Jars Ready
Make sure your mason jars are clean and free of any cracks or chips.
Prepare the lids and rings in advance so you’re ready to seal when it’s time.

3. Use Fresh, In-Season Ingredients
The best time to can is when your garden or local farmers' market is overflowing with fresh, in-season produce. Using fresh ingredients ensures your canned goods have the best flavor.
Why Fresh is Better
Fresh ingredients have the best texture, color, and flavor, which will be preserved in the jar.
In-season produce is more affordable, making your canning efforts more cost-effective.

4. Invest in Quality Canning Tools
Having the right tools can make the entire canning process go much smoother. While you don’t need a lot of fancy equipment, there are a few essentials that will save you time and effort.
Must-Have Canning Tools
Canning jars (Mason jars are the go-to choice)
Lid lifter (to avoid burns when removing hot lids)
Jar lifter (to handle hot jars safely)
Funnel (for easy filling of jars without spilling)

5. Keep Your Jars Hot
Before filling your jars with your prepared food, make sure they are hot. This simple step helps prevent the jars from cracking and ensures a better seal.
How to Heat Jars
Place empty jars in a simmering pot of water for a few minutes before filling them.
You can also place them in a warm oven (around 200°F) for a short time to heat them evenly.

6. Don't Overfill the Jars
One of the most common mistakes people make when canning is overfilling the jars. Leaving enough headspace allows the food to expand as it cooks, creating a proper seal.
The Right Amount of Headspace
For most canning recipes, leave about 1/2-inch to 1-inch of headspace at the top of the jar.
Follow specific recipes for exact measurements depending on the type of food.

7. Adjust for Altitude When Canning
If you live in a high-altitude area, you'll need to adjust your canning process. The higher you are above sea level, the more you need to modify times and pressures to ensure safe canning.
How to Adjust for Altitude
Consult canning charts that offer specific times and pressure settings for your altitude.
For example, you may need to increase the processing time or adjust the pressure on your canner.

8. Use a Damp Cloth to Wipe Jar Rims
Before sealing your jars, make sure the rims are free of any food particles. A clean rim ensures a proper seal and prevents spoilage.
The Importance of Clean Rims
Use a damp cloth to wipe the rim of each jar before placing the lid on.
This simple step guarantees that your jars will seal properly and preserve the food effectively.

9. Don’t Skip the Water Bath or Pressure Canning Process
Whether you’re using a water bath or pressure canner, it’s essential to follow the process thoroughly to ensure that your food is safely preserved.
Why the Process is Important
Both methods are designed to kill bacteria, yeasts, and molds, ensuring your canned goods are safe to eat.
Skipping steps or reducing times can lead to improperly sealed jars, making your food unsafe.

10. Let the Jars Cool Before Storing
Once you’ve processed your jars, let them cool undisturbed for 12-24 hours. This helps the jars seal properly and ensures that the preservation process is complete.
Cooling Tips
Let the jars sit on a clean towel or cooling rack.
Avoid touching the lids during this time to prevent accidental unsealing.

11. Label Your Jars
Labeling your jars isn’t just for organization – it’s a great way to keep track of what you’ve preserved and when you canned it. Proper labeling helps you use older items first and avoid confusion.
How to Label Your Jars
Write the date and the contents of the jar on the label.
You can also add any special instructions if needed (like “Refrigerate after opening”).

12. Store Jars in a Cool, Dark Place
Proper storage is essential to ensure that your canned goods last as long as possible. A cool, dark place will help preserve the quality of your food and prevent the growth of bacteria or mold.
Ideal Storage Conditions
Store jars in a pantry, cupboard, or basement.
Ensure the storage area is consistently cool and dry, with temperatures between 50°F and 70°F.

Final Thoughts
By following these 12 simple canning tips, you’ll be well on your way to mastering the art of food preservation. Canning doesn’t have to be complicated or stressful – with the right methods and a little preparation, you can enjoy homemade, preserved food all year long.
